You might be thinking, Are you crazy? What a headache! Tell the client to forget it and make a WordPress site if they want l10n.
You would have a point. WordPress is much more l10n-friendly than Wix, which had no user-friendly way to translate your website until very recently. However, I’m here to tell you that it is possible, and you don’t have to be a programmer to do it, but you will have to be willing to compromise on your fancy widgets and apps.
About Wix
Wix is a powerful website creation tool that allows you to make aesthetically stunning websites with no coding experience needed. It is extremely customizable, and you can drag and drop elements of the site into the exact places you want them. You can upload new fonts to your site, change colors, add images, link pages, and do pretty much anything by simply double clicking and changing the settings of a particular element. It takes very little time to create something beautiful, which has made it a very popular tool, especially among photographers.
Being one of those photographers who wanted to make a simple, attractive website for her photography, I made a Wix site for my photography company Butterflies & Daffodils a couple of years ago with no intention of ever localizing it. Frankly, I had almost no coding experience and no idea what l10n was, and I hadn’t started my M.A. in Translation at MIIS yet either. I put it together in a matter of hours one evening and have been very happy with its appearance ever since.
My happiness with the website was dampened a bit (but only a bit) when my colleagues and I decided to use it for our Website L10n project. It was daunting when I first started looking into the elements of my site and realized that some of it was untranslatable. However, the new Wix Multilingual feature makes translation a breeze for main content of the site, and we found some useful workarounds for the rest of it.
Ready to find out what we did? Here we go!
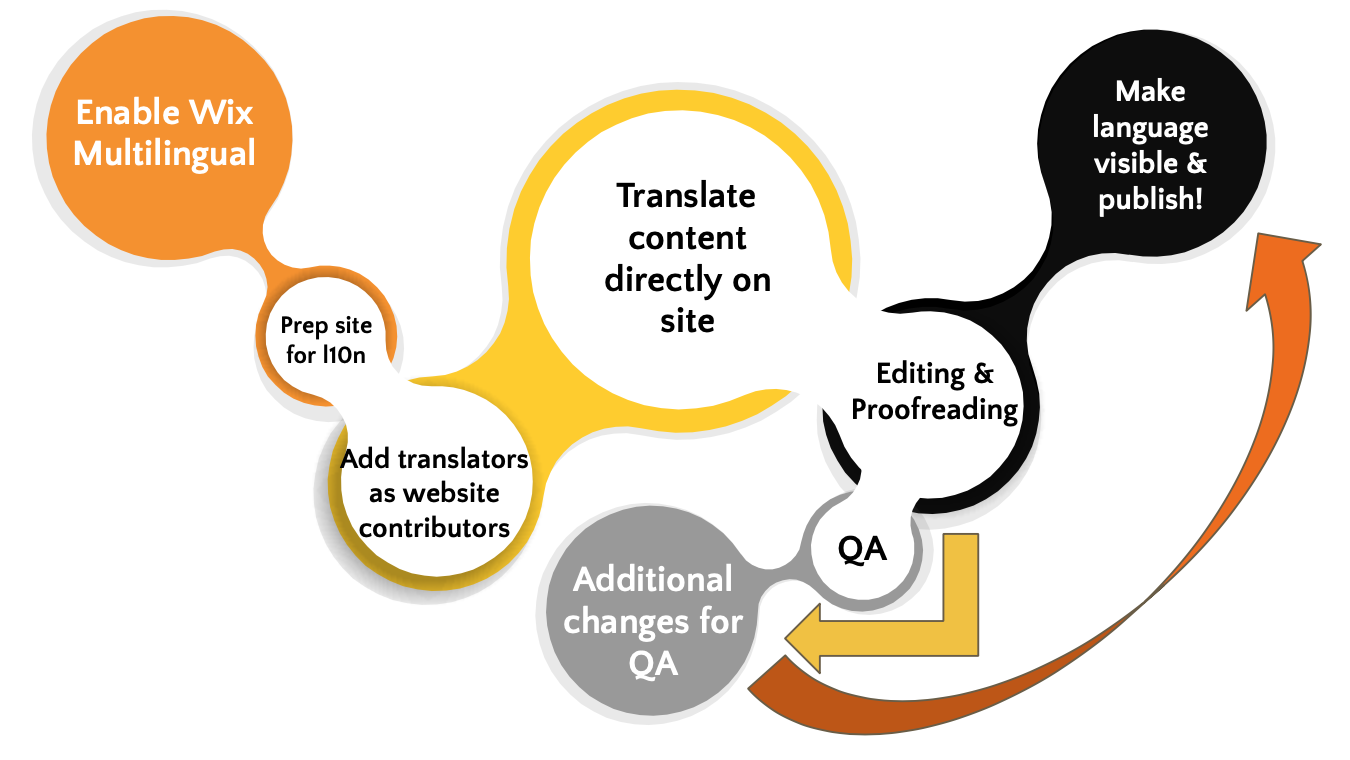
Step 1: Enable Wix Multilingual.
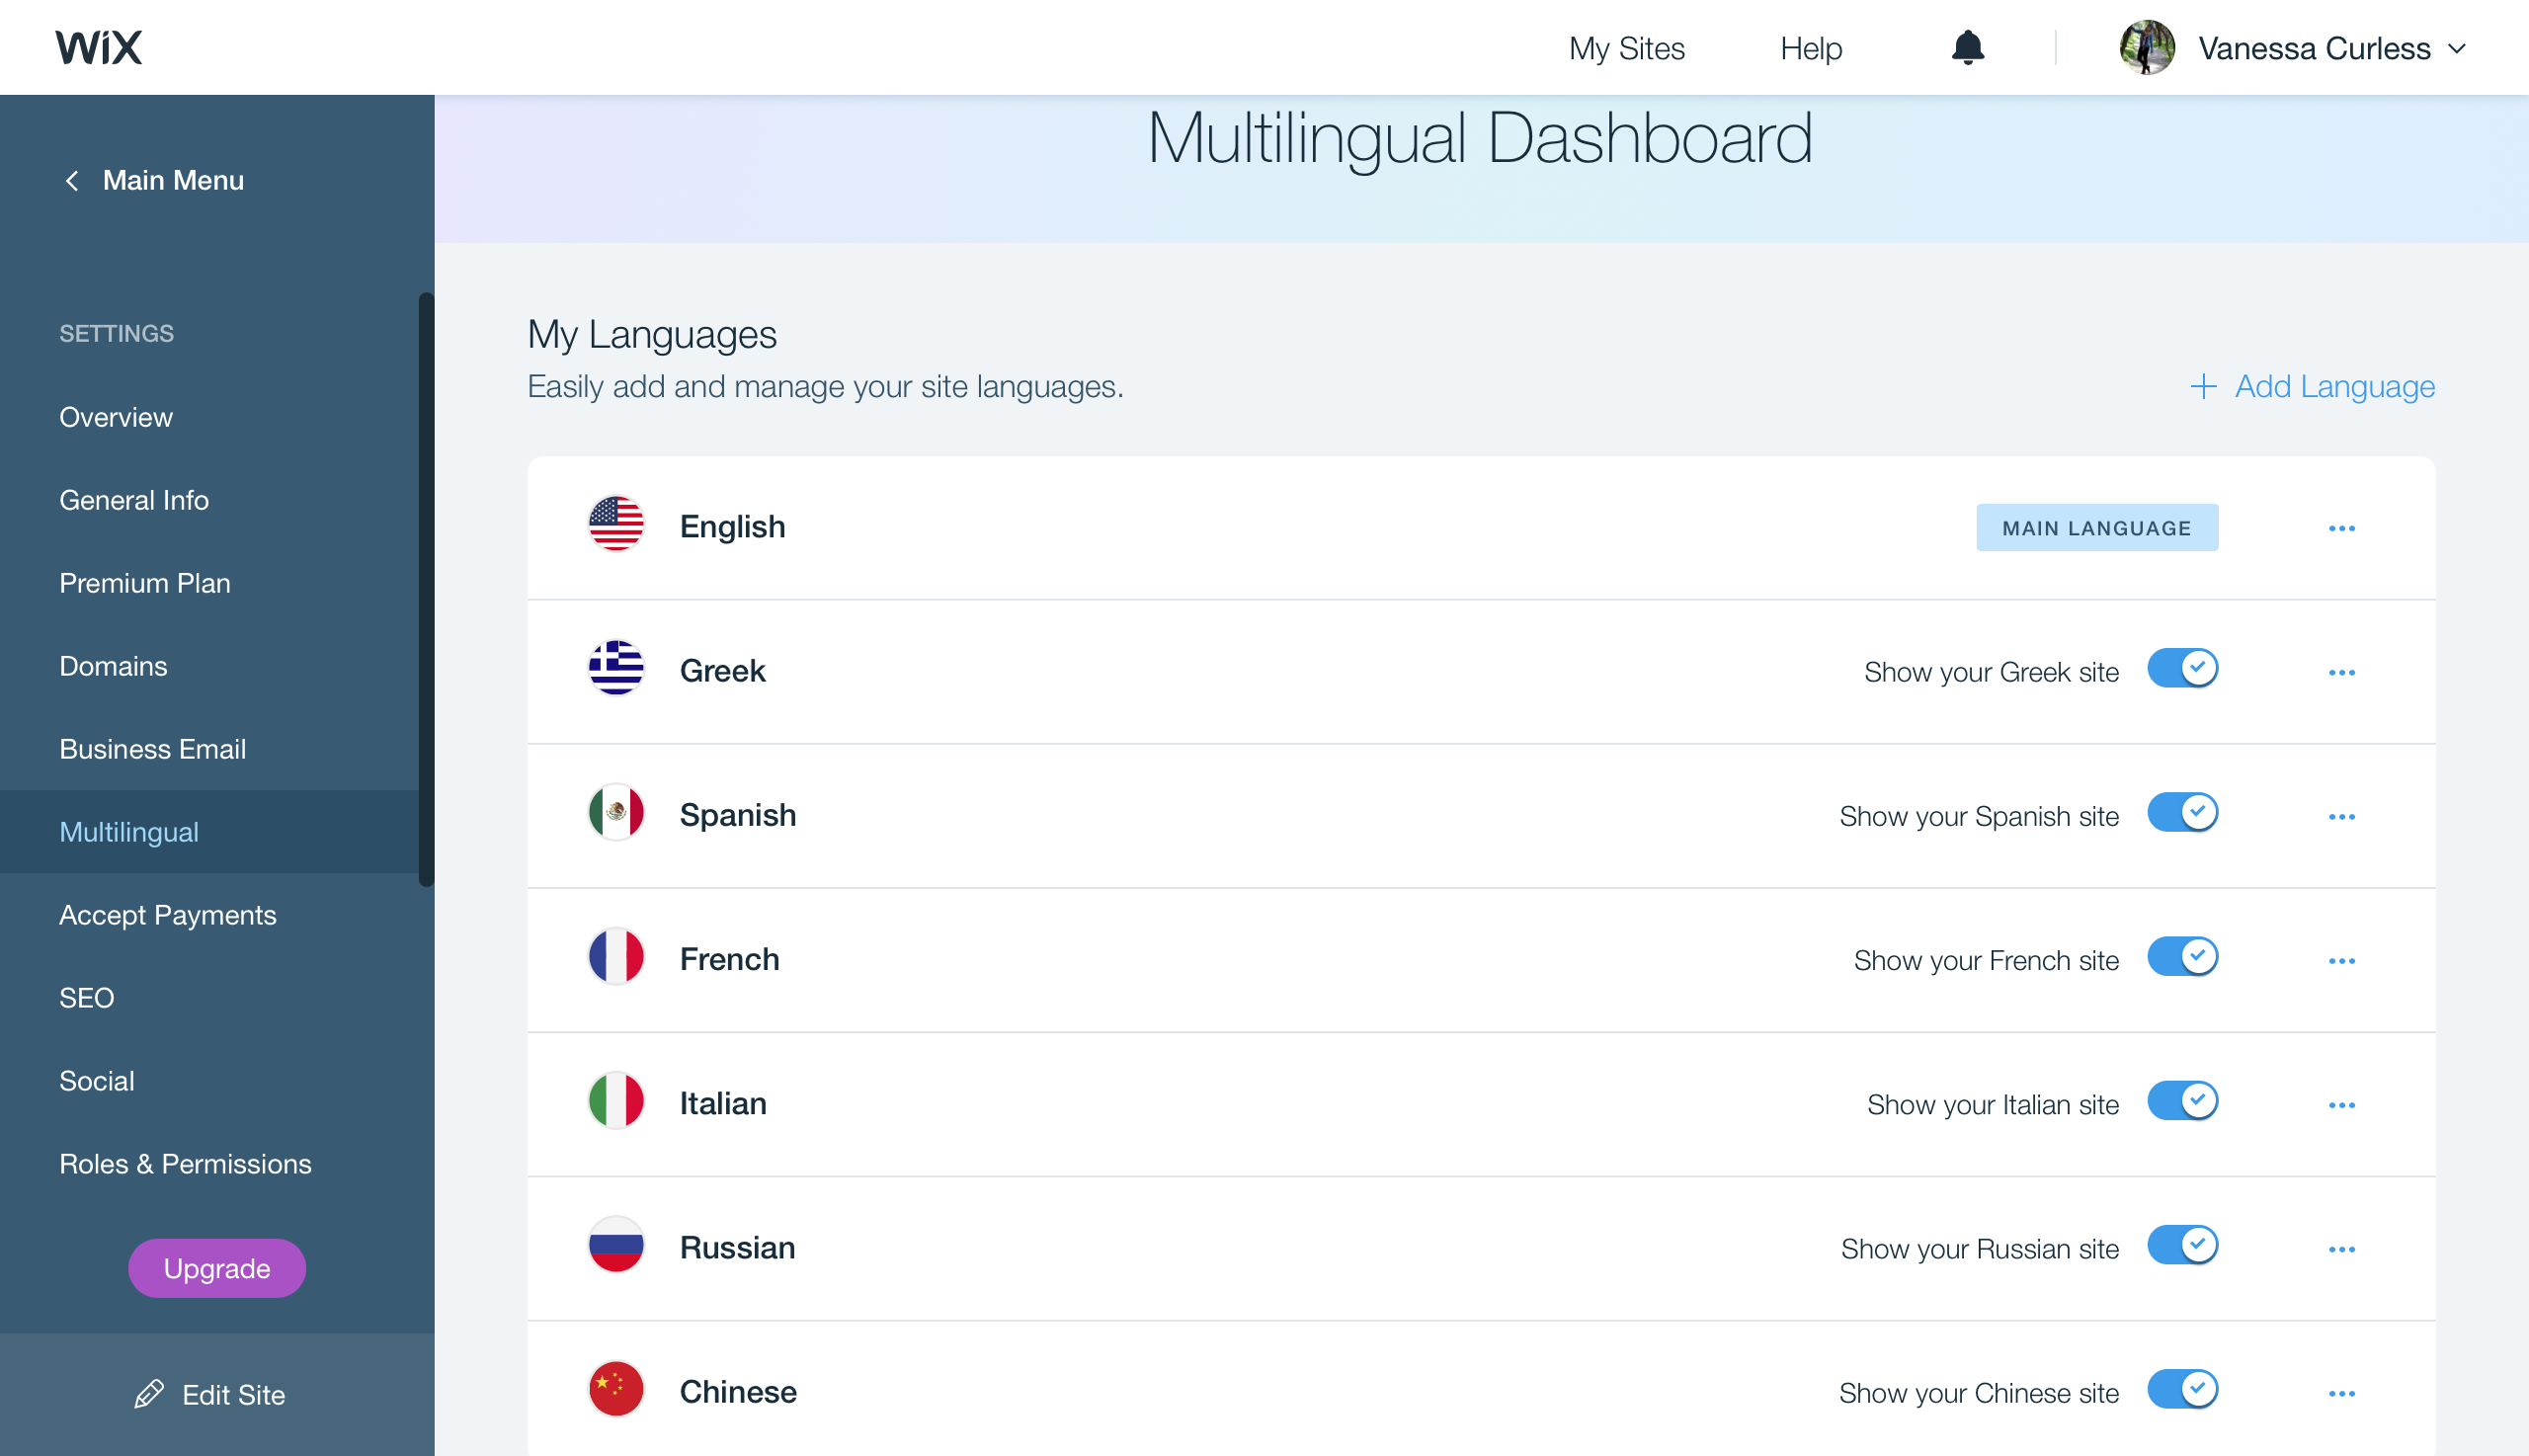
Enabling this feature on your site will allow you to add languages, make them visible/invisible, and translate directly on your website.
Step 2: Prep the site for l10n.
This basically means you’ll need to go through the site double-clicking everything to figure out what is translatable and what isn’t. If something isn’t, see if there is a way to universalize it to avoid the need for translation. For example, the text in Right Click Protect (an app that, as the name suggests, protects your website from right clicks) is not translatable. The good news is that you get to decide what it says, so instead of going with the standard “© Copyright Vanessa Curless” that it suggested, we took out the word “Copyright” and left the © because the symbol is much more universally understood than the English word.

Unfortunately, there are some cases where this is not such a simple fix. Currently, no apps and very few widgets are translatable. This meant that we had to recreate my Services page without using the Booking Services widget. Thankfully, my website is not very complicated, and I was not married to the idea of the widget, so this was the biggest change in the website that we had to make. If the website were more complex, or if I were a professional photographer depending on the Bookings widget to help me make a living, I would have been in more trouble.
Here are a couple of screenshots from the new Services page (which I have to say I am very happy with):


Step 3: Add your contributors.
This is one part of Wix l10n that is definitely not in its favor. In order to add your translators as contributors, you need to give them admin permissions. This gives them pretty much the same permissions as you, so they are able to edit anything on your website. I would really only recommend this if you fully trust your translators, and, thankfully, you can toggle off the publishing permissions so that you can at least review their work before it is out there for the world to see.

If you don’t do this, your only other option is to copy and paste all the text from your website (since there’s no “export content” function… so that’s a pain) and put it in a file to send to your translator. I’d suggest finding a translator you trust with admin permissions so you can avoid that headache.
Step 4: Get translating.
You literally double-click, and it gives you the option to translate.

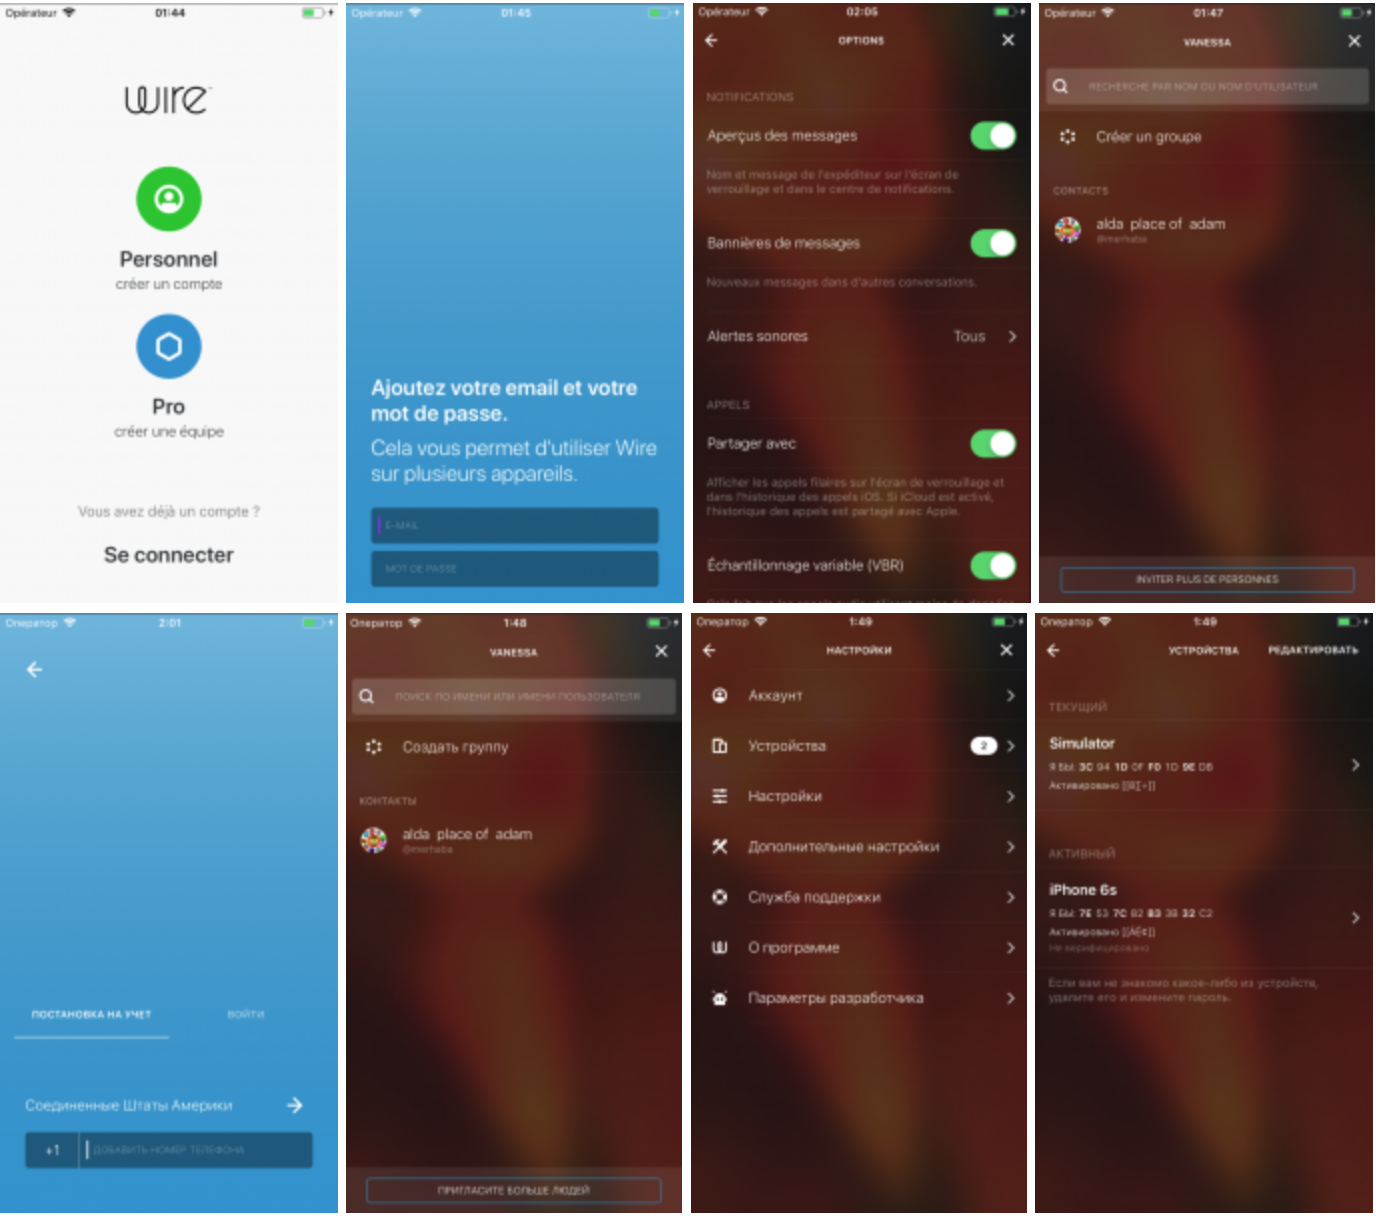
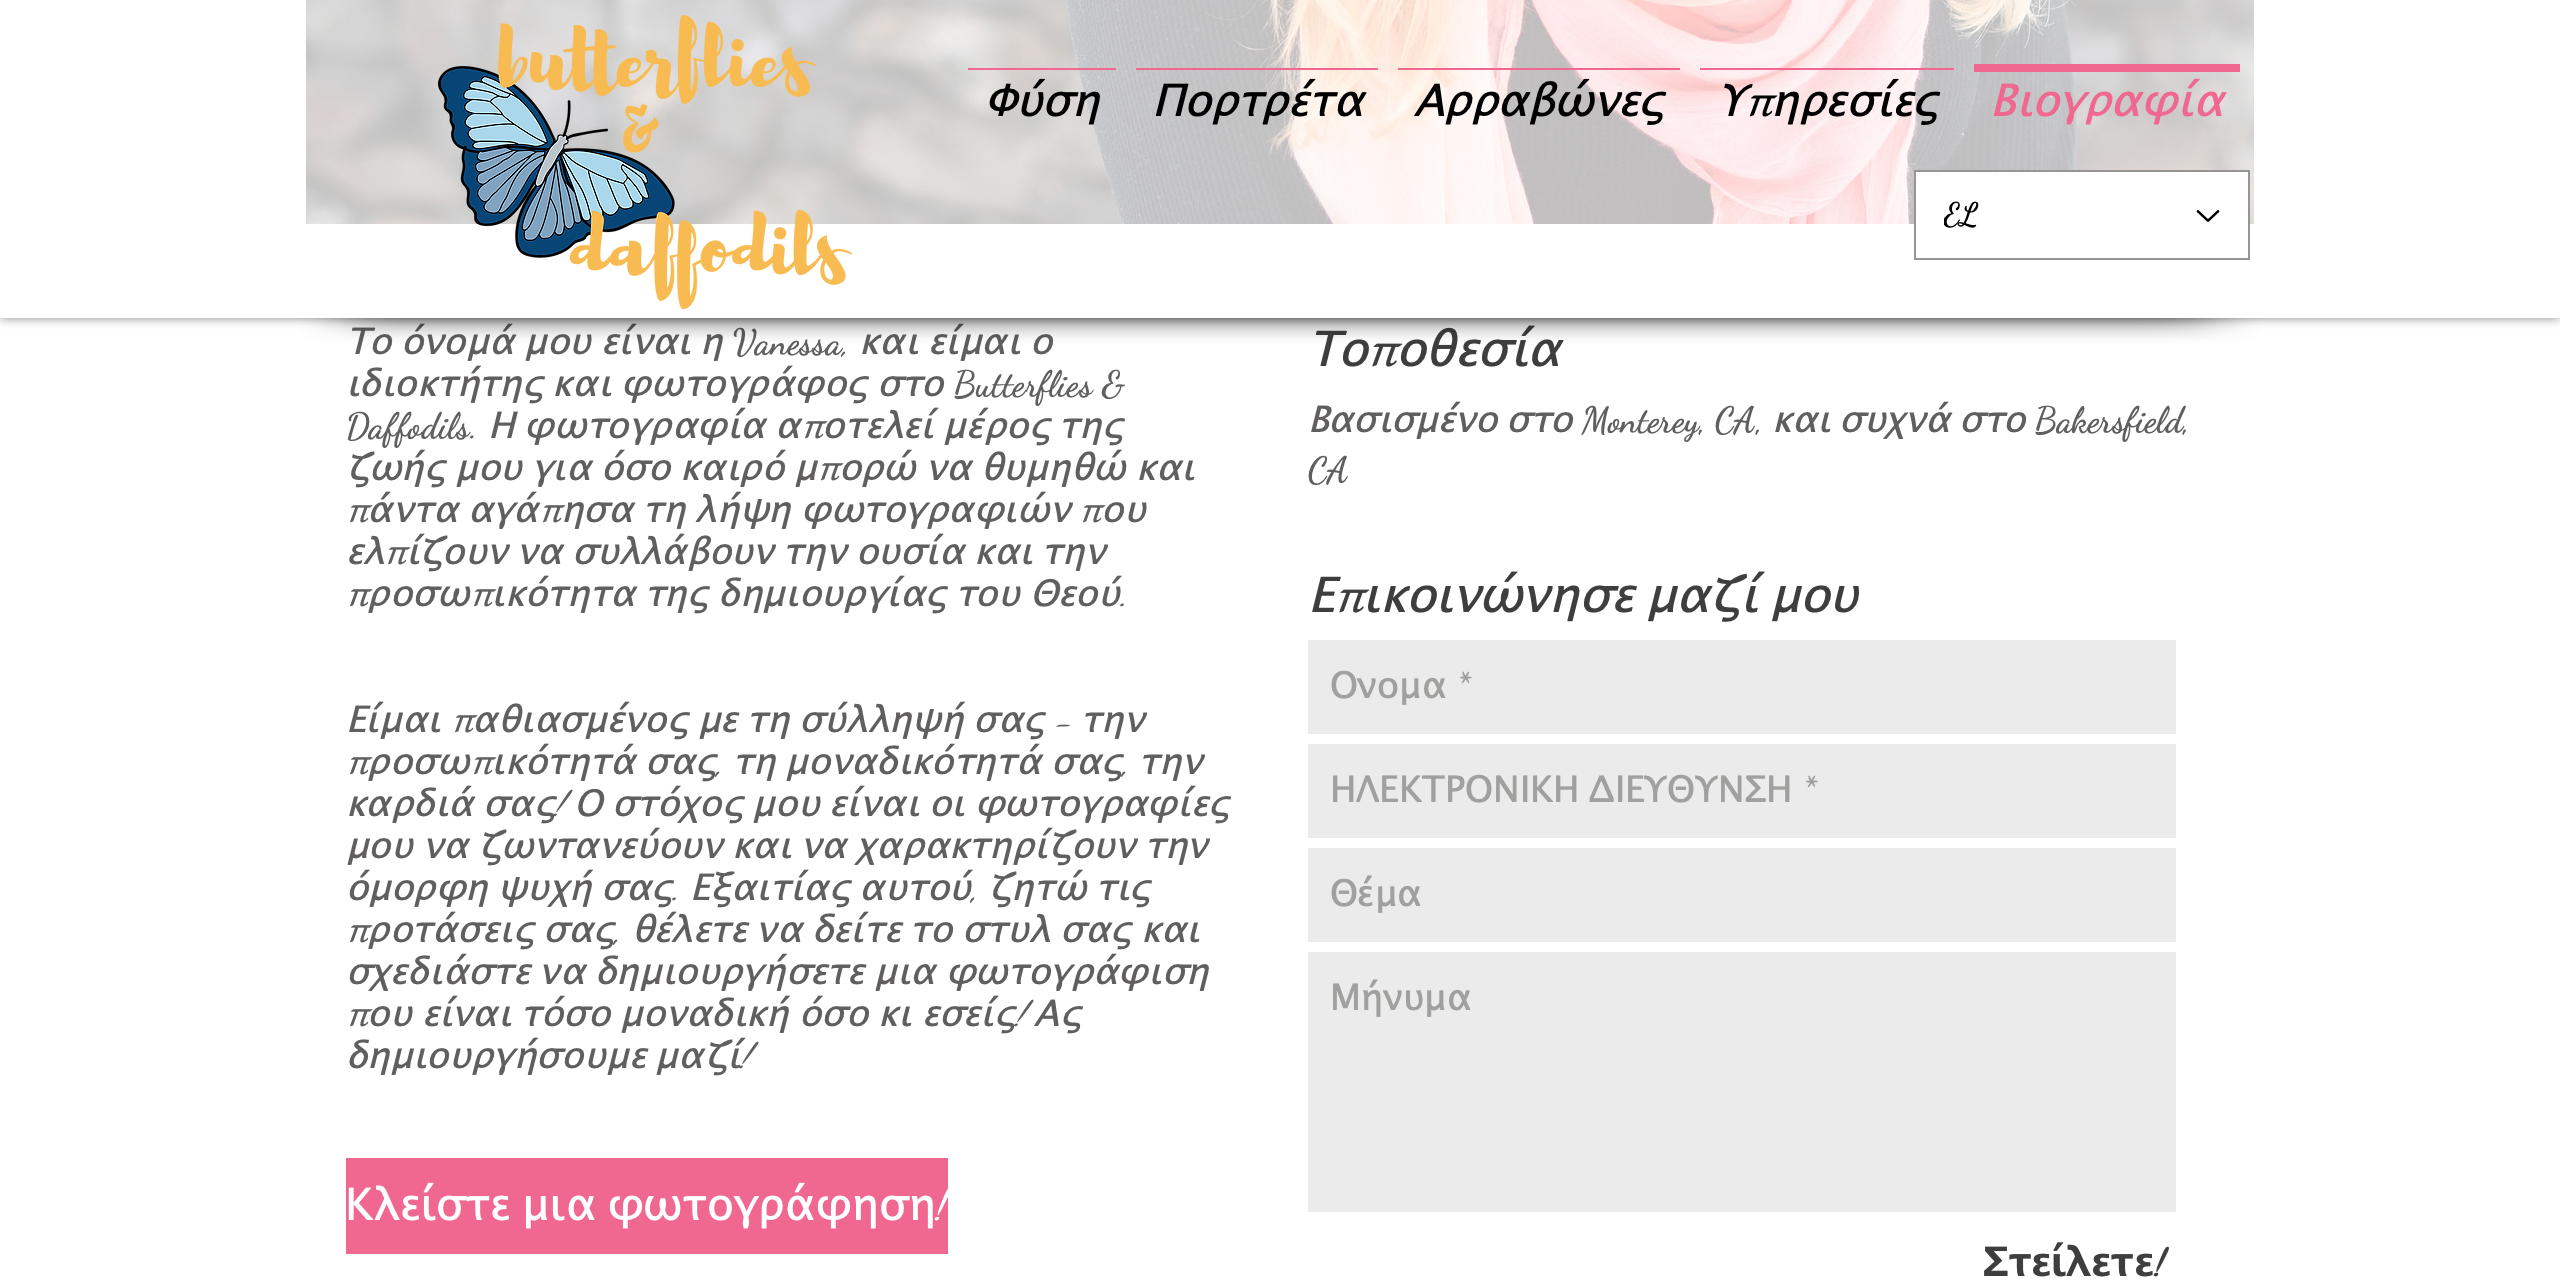
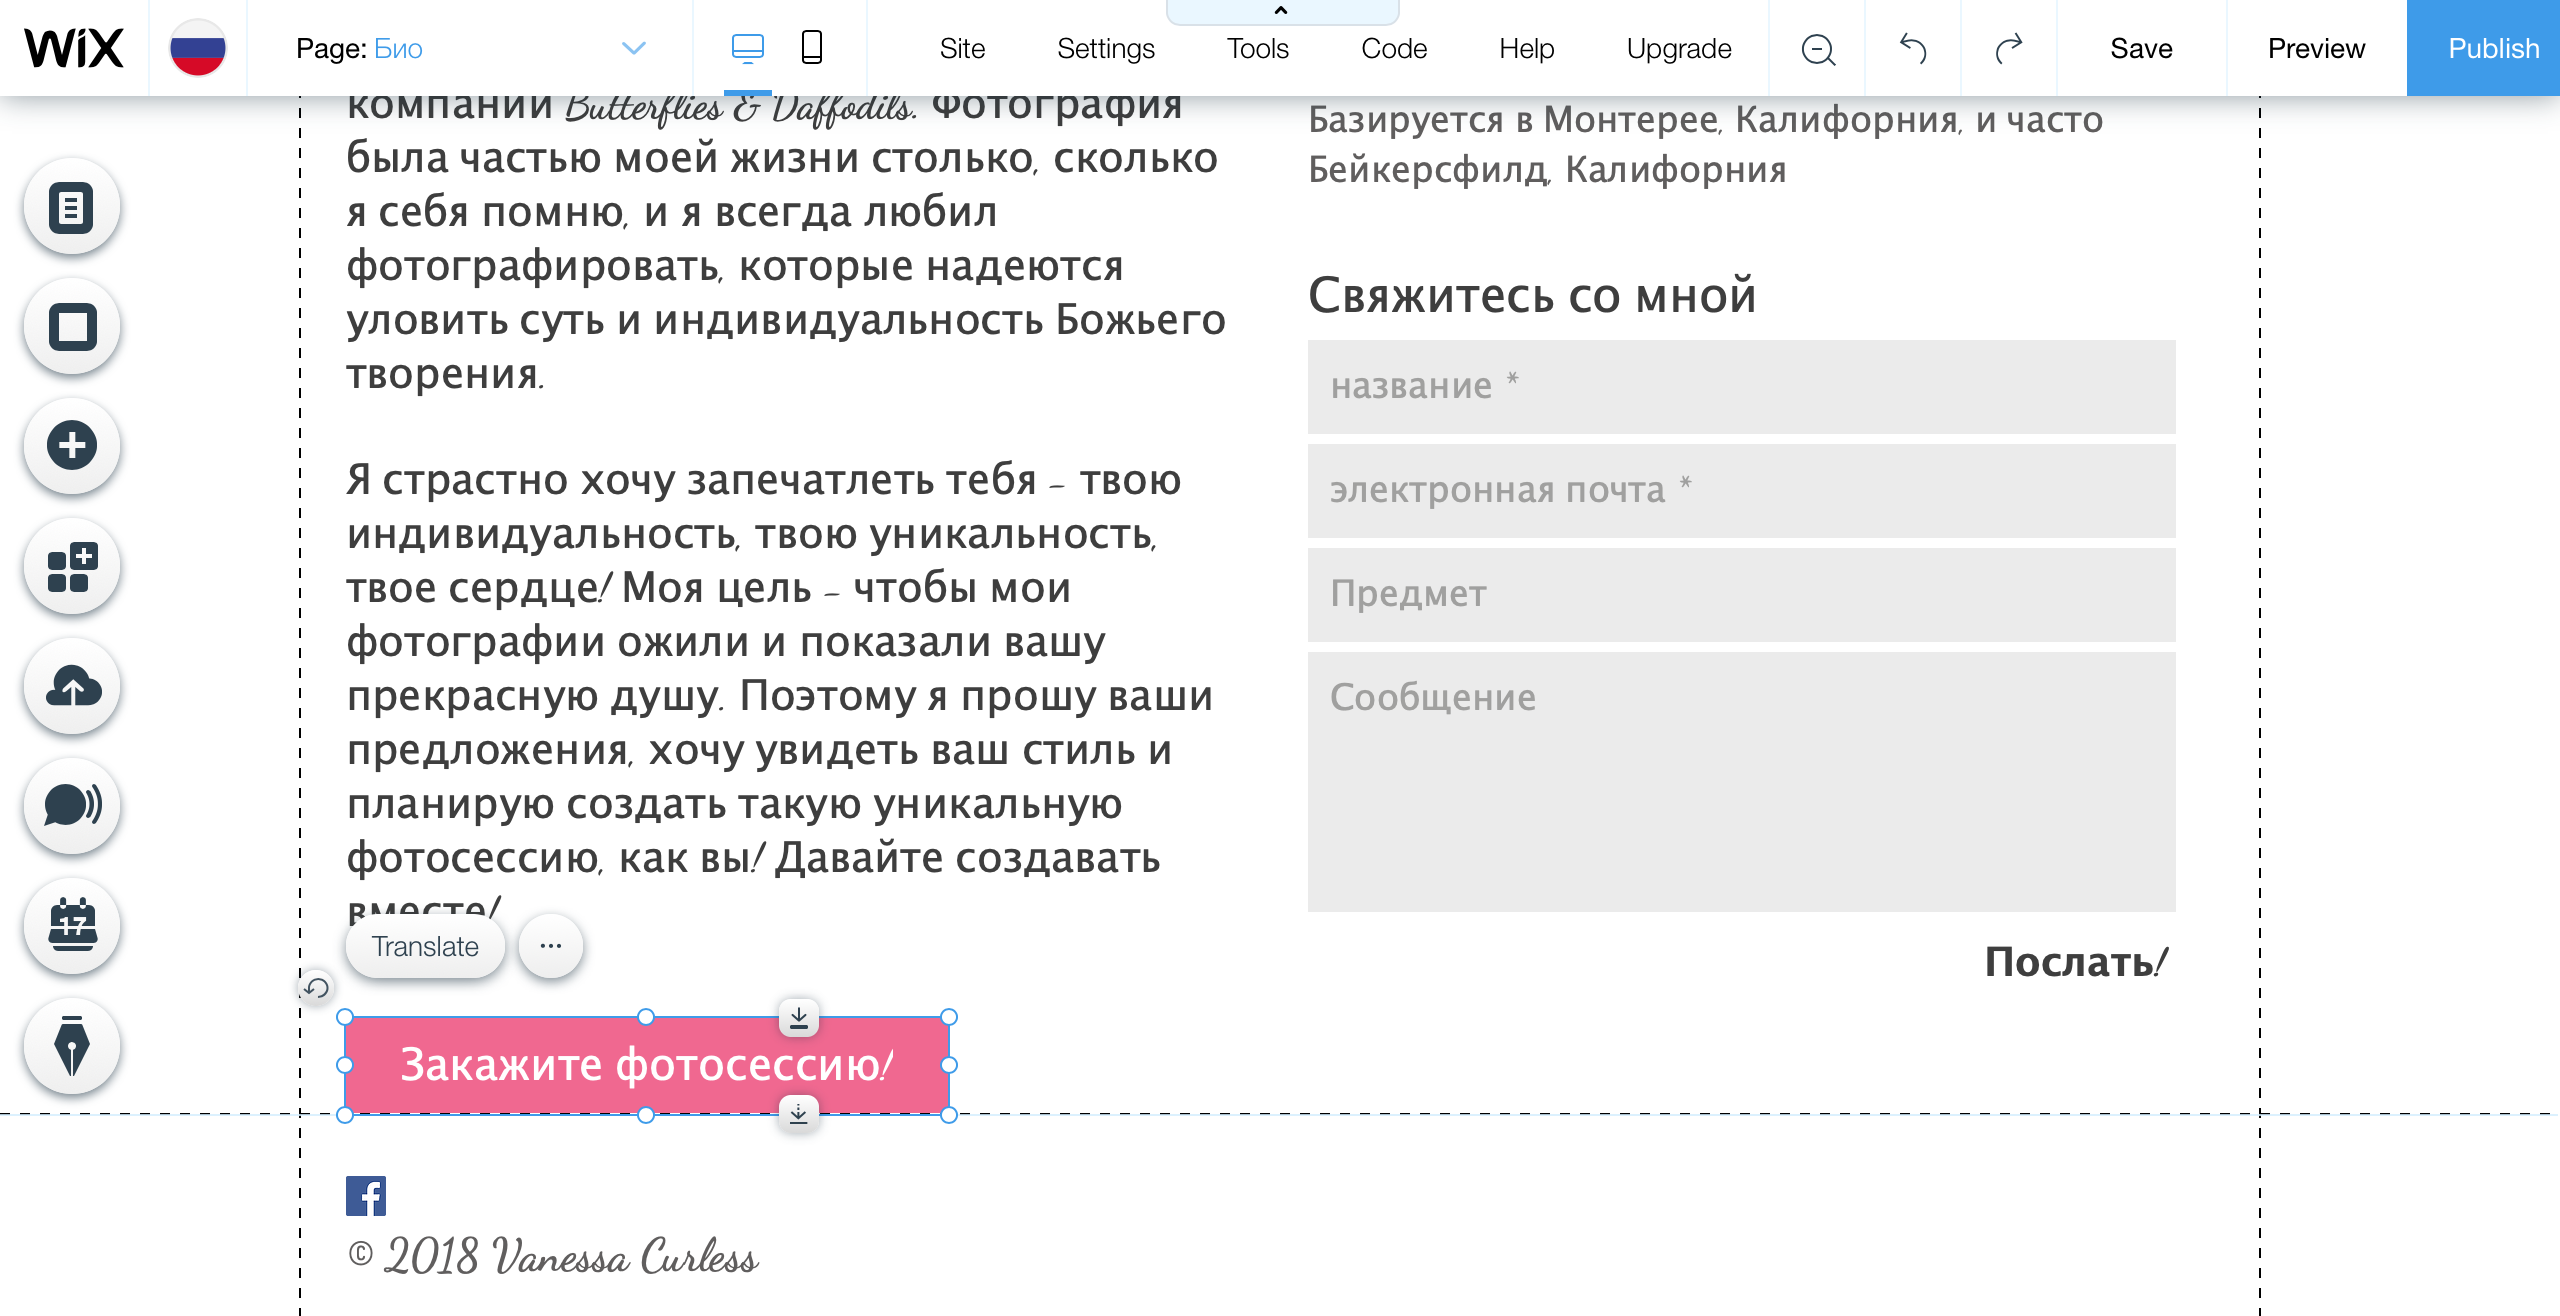
This is a really nice feature because it allows you to see exactly how the translation will look on the site and if you need to change font or sizing. Keep in mind that if you change the font size or style in the menu or on a button, it will change it for all languages (also a bummer). Finding a font that worked for all of our languages (English, Spanish, French, Italian, Greek, Russian, and Chinese) was definitely a challenge. The most acceptable one that fit the website’s aesthetic was Dancing Script, but it definitely defaults to some other font for non-Latin languages that is less than ideal but at least acceptable (please excuse our non-Latin languages… these are machine translations and only used for the purpose of this project):
Step 5: Editing, proofreading, and QA
As I mentioned in Step 3, if you don’t give your translators publishing permissions, you can check to see how everything looks before the translations are visible to the public. Make sure you check to make sure that nothing is truncated and it all looks nice and tidy before publishing.
Truncation is super easy to fix, since you can just drag the button edges to make the translation fit:
Step 6: Make visible and publish!
When you’re sure your translations look the way you want and you’re ready for the world to see that language on the site, go ahead and make the language visible in the Multilingual Dashboard from Step 1. Go to your site to preview it and see how your new clientele will see the site in their language!
So… Is it worth the hassle?
There is a bit of hassle involved with localizing a Wix website, and, to answer this question, it really depends on how complex the website is. Because my photography website is so simple with just six pages, localizing it was not an impossible undertaking. I also didn’t use a ton of apps and widgets to begin with, so our workarounds didn’t take us days to complete. Also, there is really no way to change the coding because Wix is so protective of their beautiful graphics (which is understandable, to an extent), so you can’t even fix the untranslatable aspects through the back end if you are familiar with coding. Everything you change will mostly have to be done from the front end because the “Developer Tools” are kind of useless.
If you are planning on making a website and want all that beautiful Wix Code (JavaScript) built into it without having to create all that on your own, it’s a great website platform and allows you a lot of freedom, and, if you go into your website creation with l10n already in mind, it will be much easier for you to localize the site in the long run. BUT, if you have a complicated website with lots of apps and widgets you’re not willing to get rid of, you’ll have to decide if you want a Wix website or a localized website; you probably won’t be able to have it both ways.
I hope this was helpful to you! Let me know what you think in the comments below.