What’s Twine?
When working on the engineering for a l10n project, the simpler the workflow, the better. That’s why my colleagues and I got excited when we discovered Twine, a command line tool for centrally managing translated strings for apps that are available on both Android and iOS platforms.
Our Project
The Test Subject
We decided we wanted to figure out how Twine worked, so we had to find an open source app to use as an example. That’s when we found Wire, which was perfect because
- it’s internationalized
- it’s available on Android and iOS
- its translated strings are not (yet) centrally managed
- the coding uses string keys for both Android and iOS (even though this practice is more common for Android; if it hadn’t used a keyword system for the strings for iOS, we would have had to redo the coding or find another open source app to test on).
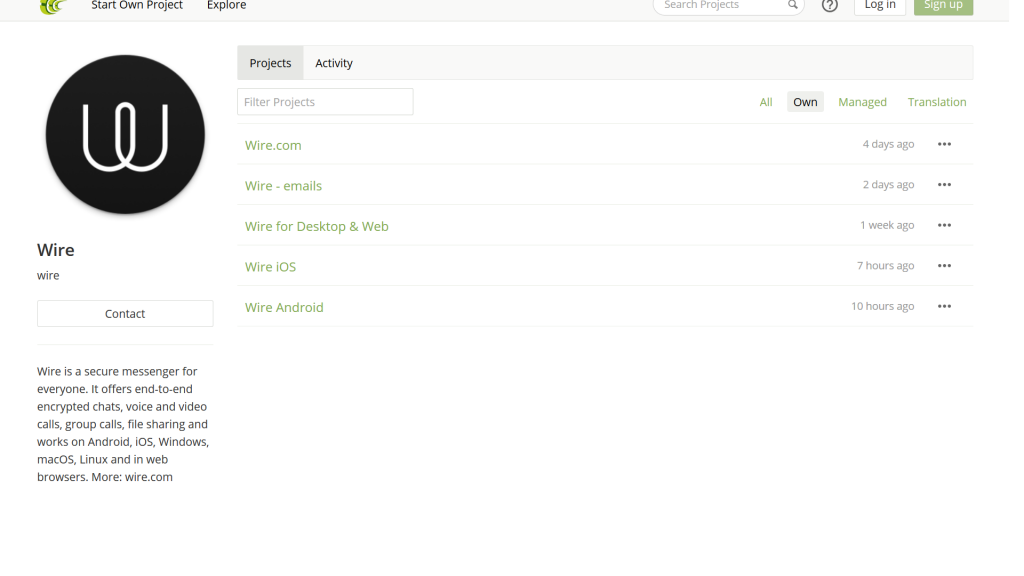
Wire uses crowdsourced translations for its strings, which go through a translation and editing process before being accepted. We noticed that their CrowdIn page had separate sections for their web/desktop app, Android, and iOS, which meant that the strings were not being centrally managed, and they could potentially even be translated by different translators. Because Wire’s user interface is almost identical for Android and iOS, it only makes sense for its strings to only be translated once and to be centrally managed.
The Workflow
Our workflow was a little modified for our pilot project, but the following graphic gives an overview of the Twine process:
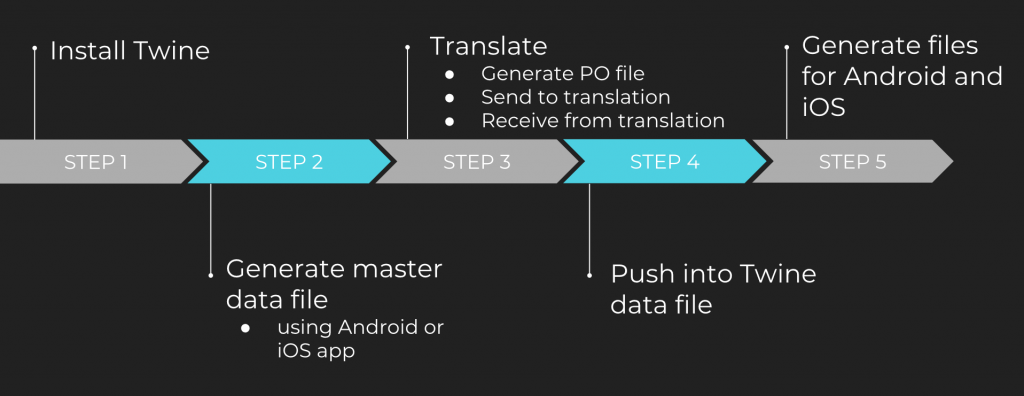
The instructions provided on GitHub for installing and using Twine are iffy (and sometimes incorrect), so it took some trial and error for us to figure out how to use it. Here’s what we found worked best (follow along using the Twine instructions on GitHub:
- Install Twine from the source. We were unable to install it as a gem because it claimed we had a missing directory (which was not missing, so we don’t really know what happened there).
- Create your first Twine data file. Then, validate it. We didn’t run into any issues with this step.
- Generate the PO source file to send to the translators using this command:
$ twine generate-localization-archive twine.txt LocDrop1.zip -f gettext
– Consume the localization file with this command:
$ twine consume-localization-archive twine.txt LocDrop1_translated.zip –format gettext
Note: For the purposes of this project, we used the crowdsourced translations from Wire’s CrowdIn page, aligned them with the source, made a TM, and translated using the TM and machine translation on Memsource. - Push the translations into the Twine data file. After doing this, make sure the language codes are correct at the tops of the files.
– For iOS, that looked like this: $ twine generate-all-localization-files twine.txt wire-ios-develop/Wire-iOS/Resources/
– For Android, the instructions were totally wrong on GitHub. The command should look something like this: $ twine generate-all-localization-files twine.txt wire-android-master/app/src/main/res - Your localized files will be generated for iOS and Android!
And there you have it! You should have your localized files for the iOS and Android platforms of your app!
A note on XCode…
The files seemed great from looking at them, but we wanted to test out the localized content in a simulator. My main role in the project was working on making the iOS app run, which ended up being a huge headache.
Since the app was already localized before for 10+ languages, and we unlocalized it for our project, I needed to reincorporate our project’s languages (French and Russian) back into the app. First, I had to find where those files needed to go. After getting everything figured out and finally ready for the simulator, I accidentally deleted something that I couldn’t undo (still unsure of what it was) and it ruined all my hard work, so I had to start over at about 1am. Anyway, after going through it again, here was the smoother process:
- Make sure you have all the dependencies you need on your computer. I ended up needing to download Carthage for Wire using Terminal. This took some time to figure out and to download.
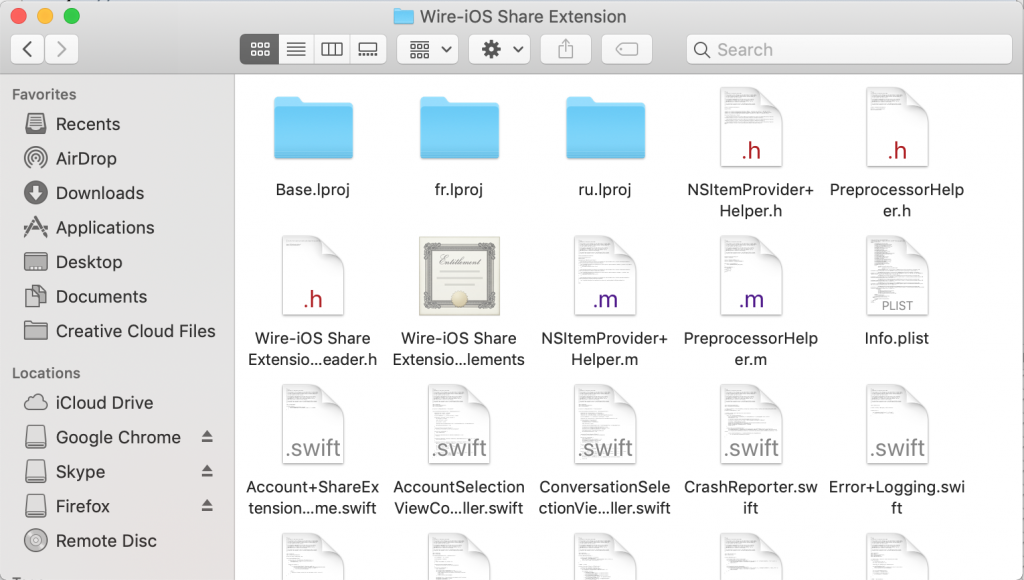
- Because Wire had been localized already, we had a nice template to begin with. I was able to look at the file structure that they had used before and make sure that I put all the translated strings files and other l10n files where they needed to go. For example, there needed to be language folders in the Wire-iOS>Resources folder (with InfoPlist.strings, Localizable.strings, and Localizable.stringsdict) and Wire-iOS Share Extension (with only the Localizable.strings file).

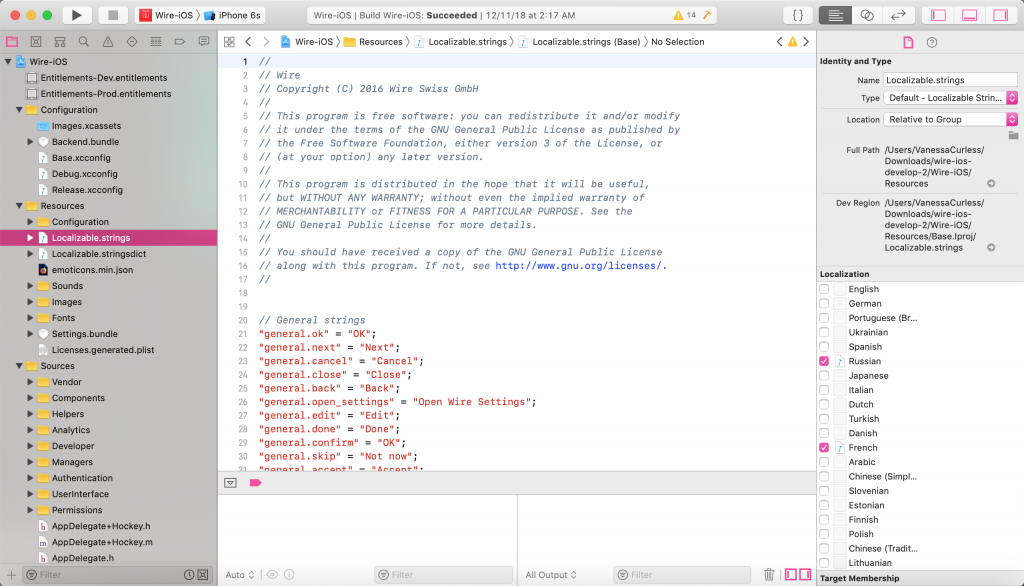
- Open the project in XCode. Make sure it builds to begin with.
- Find all the files with localization data in them. There were three sections in the Wire project that had them, which I honestly discovered through trial and error and XCode telling me where my errors were. Uncheck any boxes that are not relevant to your project; otherwise, it will not build if it does not have the data for those languages. And, of course, make sure your folders and files all use the same language code as the options you have chosen in XCode (either with or without the country code).
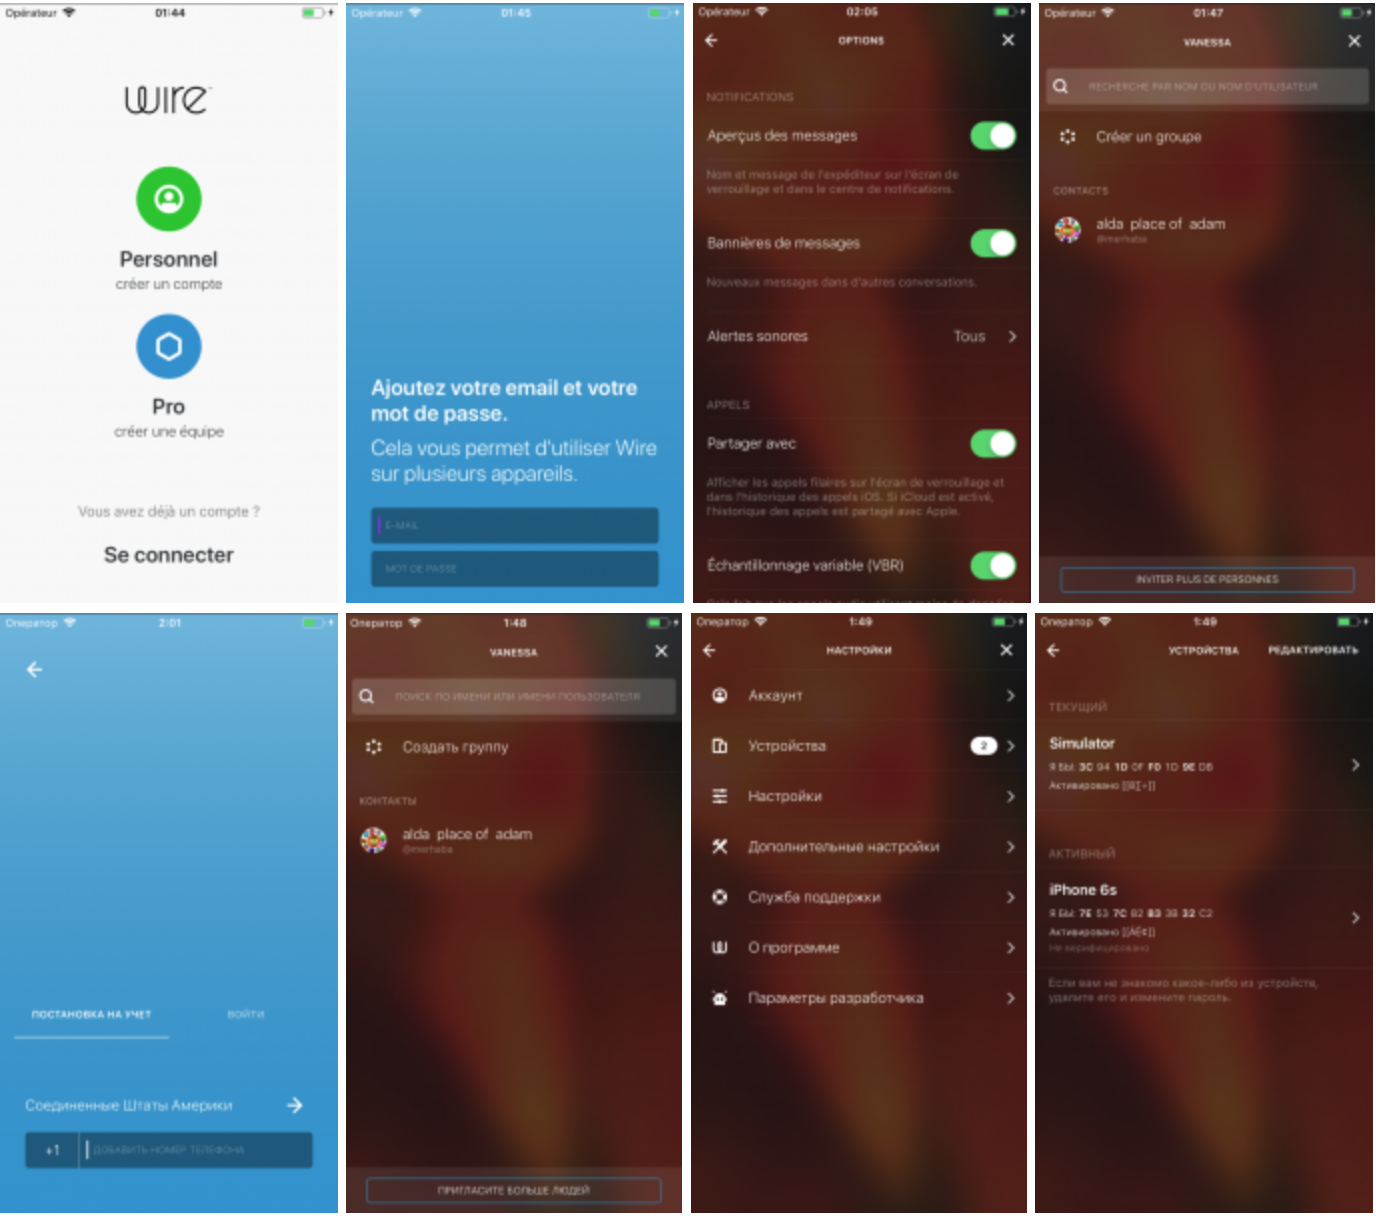
- Build the app and test it out in the simulator! Here are some screenshots from our localized app:
The Verdict
In conclusion, Twine is definitely a worthwhile tool to learn. Once you get the process down, it is not too complicated and would be a huge timesaver for companies who wish to localize an app available for both Android and iOS. For our test app, Wire, it would definitely be a worthwhile decision for them to start using this program, especially given the almost identical UIs.
I hope this has been helpful! Comment below if you have any questions, and I’ll try to answer to the best of my knowledge.
