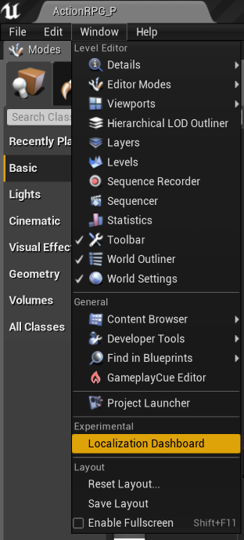
Game developers have many choices for how to make their games. Using game engines is an increasingly popular choice, and some of the game engines like Unity and Unreal Engine have even started including localization solutions. My favorite engine to work with has been Unreal Engine 4 because of the user interface compared to Unity seems much friendlier. Unreal also has an experimental Localization Dashboard that makes adding locales and translating game text very convenient with its builtin functionality. In this project, I localized the game ActionRPG I’ll explain in this post how I accomplished a successful localization and some challenges I faced in the process.

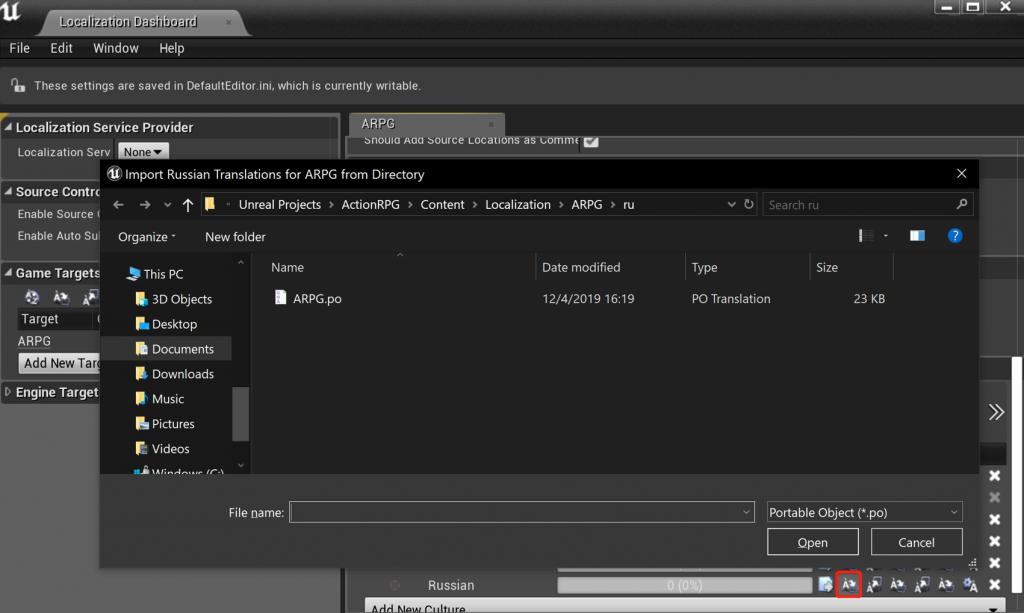
One of the benefits of using the L10n Dashboard is that it can automatically scan the game contents folder for translatable strings and extract them into a portable object file (.po) and build a localization folder structure in the main game’s project folder. From there I was able to use my translation tool to insert machine translations to test how the translations would import back into the game and if they would appear correctly. One of the tools I used is Poedit which supports the .po files that the engine creates and offers a convenient machine translation feature to input the translations automatically. (Note: the free version of Poedit only lets you insert up to 10 translations from MT, but restarting the app seems to reset the limit).
Challenges and issues
Back in the UE dashboard I can now import the translated .po file and compile the game, but in order to play the game in the new language I have to change the language of the editor under preferences. Playing the translated game I noticed there were now a few problems. Foremost, there were some strings of text that did not get translated, and the game’s default font was incompatible with non-roman character languages like Chinese and Russian.

There was also no way to change the current language in-game without stopping the game, and changing the language preference of the UE editor itself. For the font issue, it seemed that changing the font would work in the Dashboard’s built in translation editor, a convenient way to change your translations, but sadly the change font button did not work, even after installing and adding fonts to the Engine.
While spending time to figure out how to add a language switcher since our languages displayed “tofu” for Chinese and Russian, I stumbled upon the UI folder within the game’s structure. This folder was home to the font used by the game which only supported the French and English versions. It turns out that by editing the font in this folder offers an option for a fallback font in case the game can’t display the default font, which is exactly what was needed for Chinese and Russian to work. This discovery of the UI folder and game font was what helped make this project a success in showing how localizing your game in UE4 can be a smooth experience if you know where to look in the game folders and how to edit the assets in the Engine.

Takeaways
The localization dashboard proved to be very useful in this project, and combined with what I think this is one of the benefits that UE has over engines like Unity, the “blueprint” mapping system used to program game assets gives UE a nice advantage. UE is also a good choice since there’s no need to implement localization directly into code unless the developers have strings that are unreachable by the engine. In the end though, I think being familiar with the methods of localizing games in both Unity and UE will be beneficial since both engines offer a different approach to solving the same problem. I like how the blueprinting in UE gives you a concept map overview of your scripts and assets, adding to the utility of the localization dashboard, while Unity offers the key:value localization method with its I2 localization plugin. I still give UE the edge over Unity when it comes to usability and functionality.

